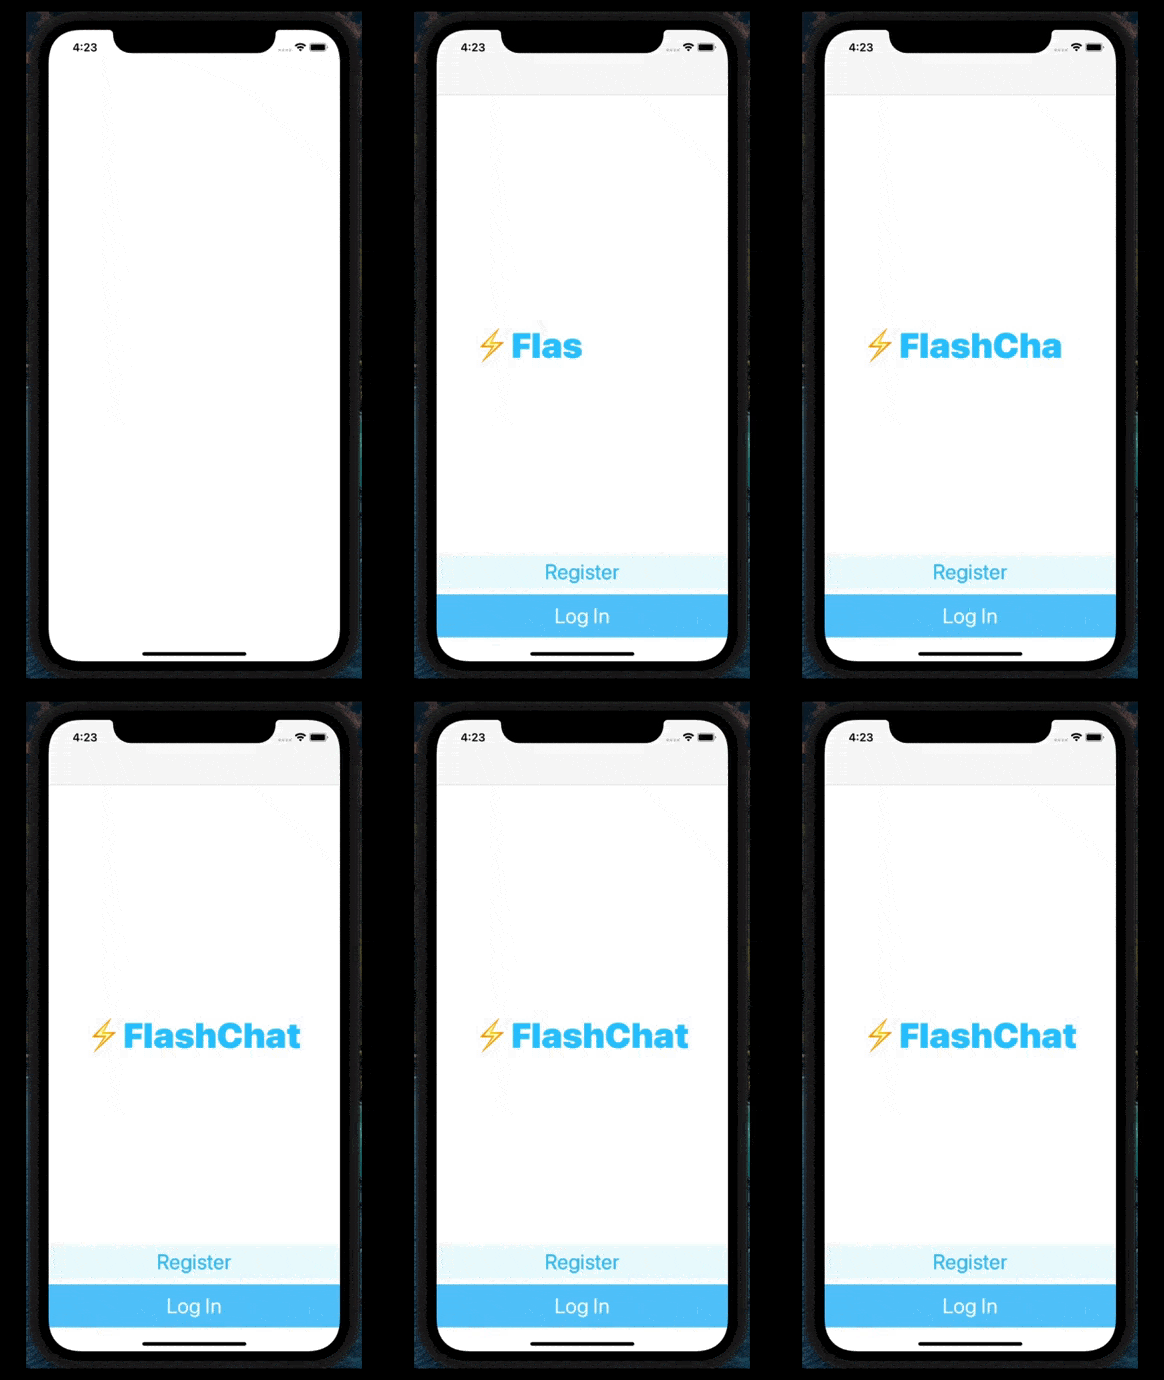

첫번째 방법
단순 코드로 구현하는 방법이다.
import UIKit

class WelcomeViewController: UIViewController {

    @IBOutlet weak var titleLabel: UILabel!

    override func viewDidLoad() {
        super.viewDidLoad()

        titleLabel.text = ""
        var charIndex = 0.0
        let titleText = "⚡️FlashChat"
        for letter in titleText {
            Timer.scheduledTimer(withTimeInterval: 0.1 * charIndex, repeats: false) { timer in
                self.titleLabel.text?.append(letter)
            }
            charIndex += 1
        }

    }

}
두번째 방법
CocoaPods를 이용하는 방법이다.
더보기
cocoapod 설치방법
//step 1
sudo gem install cocoapods

//step 2
pod setup --verbose

//설치되었는지 확인
pod --version
//step 1 작업중인 디렉토리로 이동
cd 본인이 작업중인 디렉토리 경로 //예시 : cd /Users/gildong/ios/example
//step 2
pod init
//step 3
podfile을 xcode로 열어준다.<열린 podfile>

<수정된 podfile>
platform :ios, '9.0'

target 'Flash Chat iOS13' do
  use_frameworks!

  # Pods for Flash Chat iOS13

    pod 'CLTypingLabel'

end
사이트에 나와있듯 pod 'CLTypingLabel' 을 추가해준다.
pod install흰색 xcworkspace 파일이 만들어지는데 이걸로 들어간다.
'iOS > Swift' 카테고리의 다른 글
| [iOS/Swift] 카메라로 동영상 촬영하기 (0) | 2022.05.21 |
|---|---|
| [iOS] Charts 라이브러리 설치방법 및 사용방법 (0) | 2022.03.03 |
| [iOS/Swift] Xcode Simulator 키보드 안보일때 (0) | 2021.05.08 |
| [iOS/Swift] Custom font 적용하기 (0) | 2021.04.20 |
| [iOS/Swift] 주사위 프로젝트 - Dicee (3) : Auto Layout (0) | 2021.02.26 |